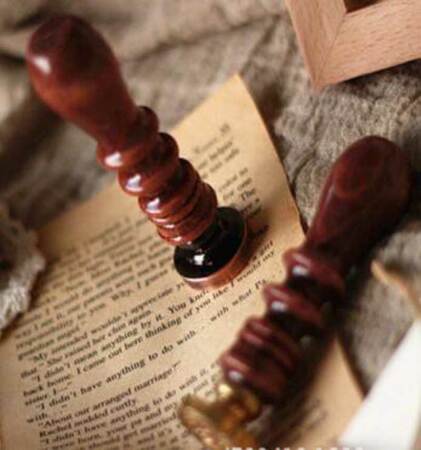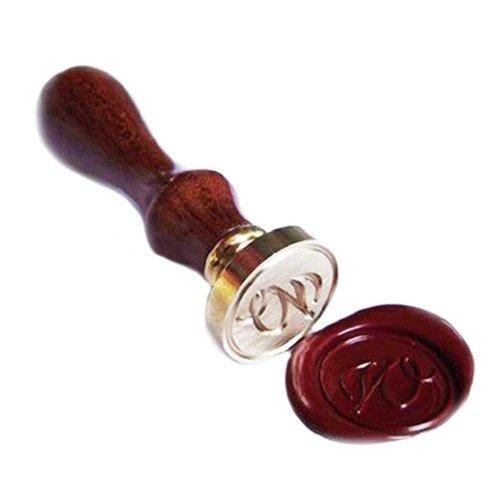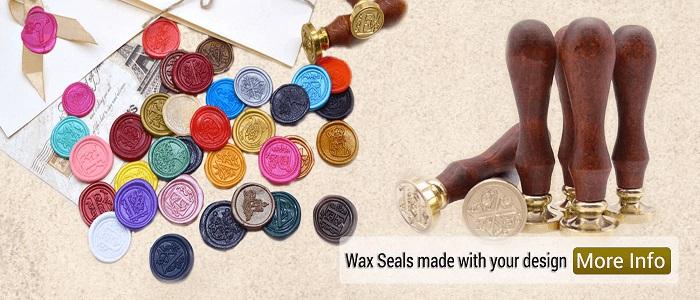
If you want to give a personal and elegant touch to your letters, then you should use a wax seal stamp. If you haven’t used a seal stamp, then no need to be worried. The seal stamp is very easy to use, and here we will teach you to use how you can add some personal flavour to your letter with a wax stamp kit. How would you like to receive a handwritten letter that is sealed with a wax seal? It would be an amazing feeling, right? Wax seals are the best way to make the letters more beautiful and impactful. Using wax seal is easier, and here you need to
- Melt the wax and then pour all of them where you want your seal to be
- The press the hot wax with a cold seal stamp
- Then give it some time to cool down and remove the stamp
Generally, there are mainly two types of wax used in the process of wax sealing such as supple wax and traditional wax. The traditional wax is the same type of wax that has been used since the king and queen days. But the drawback of this wax is that it can’t be used for mailing as it is brittle.
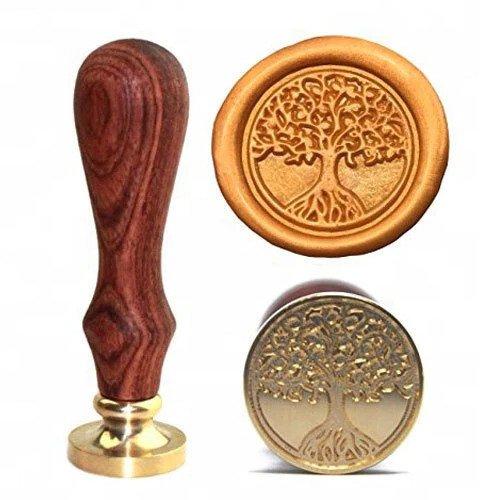
On the other hand, supple wax is more flexible and can withstand the mailing system that it is a more popular choice compared to the traditional wax. The supple wax comes in a wide range of forms, like wax sticks or without wicks, the wax sticks for wax sealing beads and glue guns. Almost all people use supple wax, and that’s why this guide focuses on wicked wax sticks and sealing beads.
Supplies you need
For this procedure, you will need a sealing wax stove, match, sealing wax sticks, wax sealing beads, candle, marble coaster, match and wax stamp kit. After collecting all the necessary supplies, let’s move on to the next part of the process, but before that, there are a few things to keep in mind when buying a wax stamp.
- If you want to use the wax seal for future purposes, then you can pour the wax onto parchment paper or any non-stick and heatproof surface. You can remove it once it is cooled down and use it for next time.
- Suppose you want this process to be faster than you can chill the stamp before using it. The chilled stamp will cool down the surface faster.
Sealing was sticks
This is one of the easiest and convenient ways to use, but it would be hard for a beginner to control. But if you learn to control it, then the result will be great. The wax sticks come in various colours, and the only thing you need is a lighter or matches.
- Step-1- light the wax stick, and after that, the wax will drip down.
- Step-2- press the stamp onto the wax for a few seconds and leave it for some time to harden. Remove the stamp carefully and if you feel any resistance, then wait for a little longer.
Wax sealing beads
This wax comes in different sizes, colours, and shapes. The sealing beads are highly popular because they allow you to make multi-coloured wax seals. The wax stamp kit for this process is a candle, wax sealing spoon or a teaspoon, a stick to stir the wax, and a wax melting stove.
- Step-1 put wax beads on the spoon and then put it over a flame
- Step-2 keep the spoon over the flame until it’s melted
- Step-3 stir the wax and slowly pour the wax into the surface, then press with a wax stamp and leave it for some time.
- Step-4 gently remove the stamp and admire the beauty.
Seal4You is a trusted supplier of custom wax sealing products. They have been in this business since 2012, and they have positive reviews and high ratings. Contact us now!
Read more on the below links
Make Use of High Quality Wax Envelope Seal and Grab the Enhanced Benefits

