July 30, 2021
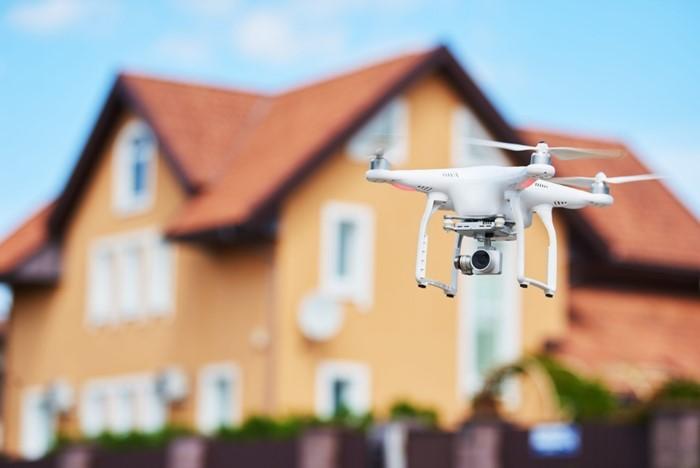
Thinking of adding a little bit of flare into your real estate photos? Or perhaps looking at the area where the property resides is just too good not to showcase? If you did not spend a split second to think about the answer and lunged with a yes, then drones and aerial photography editing is your next bet. Real estate photo editing can get competitive. Photographers will normally shoot the same angles of properties, edit them in the same manner, and the question now begs, what sets each of them apart? Adding aerial photography editing to your arsenal of services can be that differentiating factor.
Another reason to consider drone and aerial shots for real estate photo editing is their ability to be transformed into more than just stills. You might want to incorporate a 360-degree virtual tour to give a bit of interaction with potential buyers on the website. This virtual tour will give you flexibility to showcase the surrounding community and landscape of the property and perhaps find the right buyer with this.
Owning a drone and hopping on the bus to produce stunning aerial photography editing images should be done with the right steps. There are things-to-do on your end plus considerations to think about on an external perspective prior to being fully fledged to this type of photography. Real estate photo editing for aerial photography would be straightforward, capturing those shots would take a little more care.
A User’s Guide to Using a Drone
One of the things photographers should take note is that aerial photography editing is more challenging that real estate photo editing for stills. The reason is the numerous external factors that impact the drone’s stability such as wind speed and operational controls. Therefore, checking out this quick guide will help mitigate these effects and give you more confidence in shooting aerial photos.- Find a drone camera with a high resolution.
- Invest in a drone with various flight features.
- You may opt to find a drone that carries a heavier weight load.
- Read up on guidelines and regulations on your area of photography.
Post-Processing Your Photos
Real estate photo editing takes a couple of notable items when you are dealing with aerial shots. First is the lighting. Flying in the sky will definitely be brighter, therefore creating less visibility on the round below. Second is getting the perfect angle. There is no flat surface for the drone to stand on unlike a tripod, so get ready to rectify these images.- Perform the basic edits for brightness and color – Aerial photography editing in this aspect is the same as stills. There needs to be the removal of color cast, the brightness has to be distributed, and the colors must be balanced.
- Create color contrast to create distinction – One of the advantages of aerial photography editing is being able to showcase the property, its yard, probably a pool, and its surroundings. From above, these will present different vibrant colors that will surely be an attention grabber. Play around with the contrasts, adjust the hues to a higher level and make the saturation heavier. These will make the colors distinct and appealing at the same time.
- Perspective correction is imminent – As we’ve mentioned, no real estate photo editing for aerial shots is complete without correcting the perspective. Have a jab at the skewing of the photo, and make sure that from a buyer’s perspective, it does not look distorted nor misaligned.